Your Gutter Repair Checklist That Homeowners Need
Need Help With a Gutter Repair?
If your gutters are leaking, sagging, pulling away from the house, or overflowing, a professional can help identify the problem and recommend the right repair.
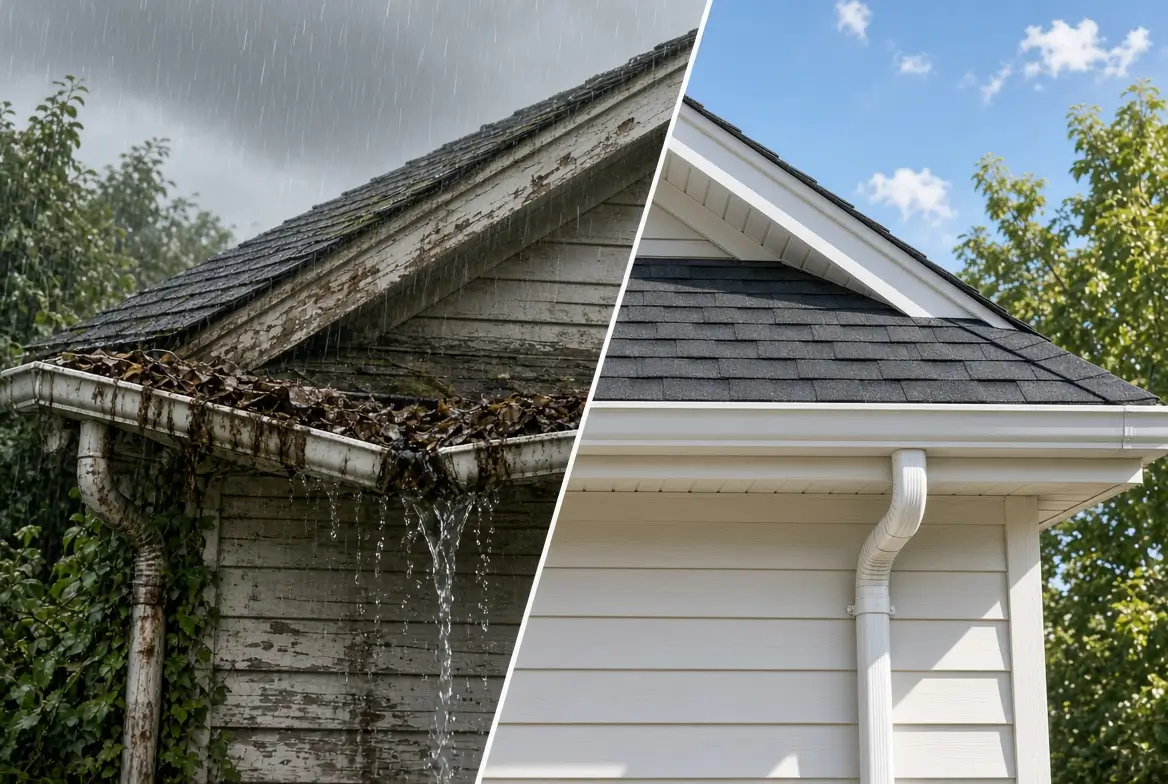
Call for Gutter Repair HelpA leaking, sagging, or loose gutter does not always mean you need a complete gutter replacement. Many common gutter problems can be inspected and repaired by a homeowner with a few basic tools and an afternoon to spare.
The key is finding the problem before rainwater starts soaking the fascia, siding, foundation, landscaping, or soil around your home.
This DIY gutter repair checklist walks you through how to inspect your gutters, identify common problems, seal leaks, tighten loose sections, improve drainage, and determine when a professional should handle the repair.
Quick Answer: Can You Repair Gutters Yourself?
Yes. Many minor gutter problems are suitable for DIY repair.
Homeowners can often handle:
- Small gutter leaks
- Loose gutter screws
- Loose hangers
- Minor gutter separation
- Small holes or cracks
- Leaking gutter seams
- Loose downspout connections
- Minor sagging
- Clogged gutters
- Poorly positioned downspout extensions
However, extensive sagging, badly damaged gutters, rotted fascia, steep roof access, or gutters that have pulled away from the house may require professional repair.
The first step is figuring out exactly where the water is coming from.
DIY Gutter Inspection Checklist
Before buying sealant or replacement hardware, inspect the entire gutter system.
Do not only look at the location where you noticed water dripping. Water can travel along the inside or outside of a gutter before it reaches the point where it finally drips.
Check the gutter for:
- Holes or cracks
- Leaking seams
- Loose screws
- Missing screws
- Loose gutter hangers
- Sagging sections
- Gutters pulling away from the fascia
- Standing water
- Leaves and debris
- Rust or corrosion
- Bent gutter sections
- Damaged end caps
- Loose downspouts
- Disconnected downspout sections
- Downspouts draining too close to the foundation
Look underneath the gutters as well.
Water stains, rotted wood, peeling paint, or dark areas on the fascia can indicate that water has been getting behind the gutter.
Step 1: Clean the Gutters Before Repairing Them
A gutter full of leaves and sediment can make it difficult to determine whether the system is actually damaged.
Remove debris from the gutters and flush them with a garden hose.
Pay particular attention to areas around:
- Downspout openings
- Inside corners
- End caps
- Gutter seams
- Areas where water appears to collect
If water backs up after the gutter has been cleaned, the problem may involve the gutter slope, a blockage, or an undersized drainage system.
Step 2: Look for Sagging Gutters
Gutters are supposed to direct water toward their downspouts. A section that has started to sag can collect water instead of draining it.
Look for sections that appear lower than the surrounding gutter.
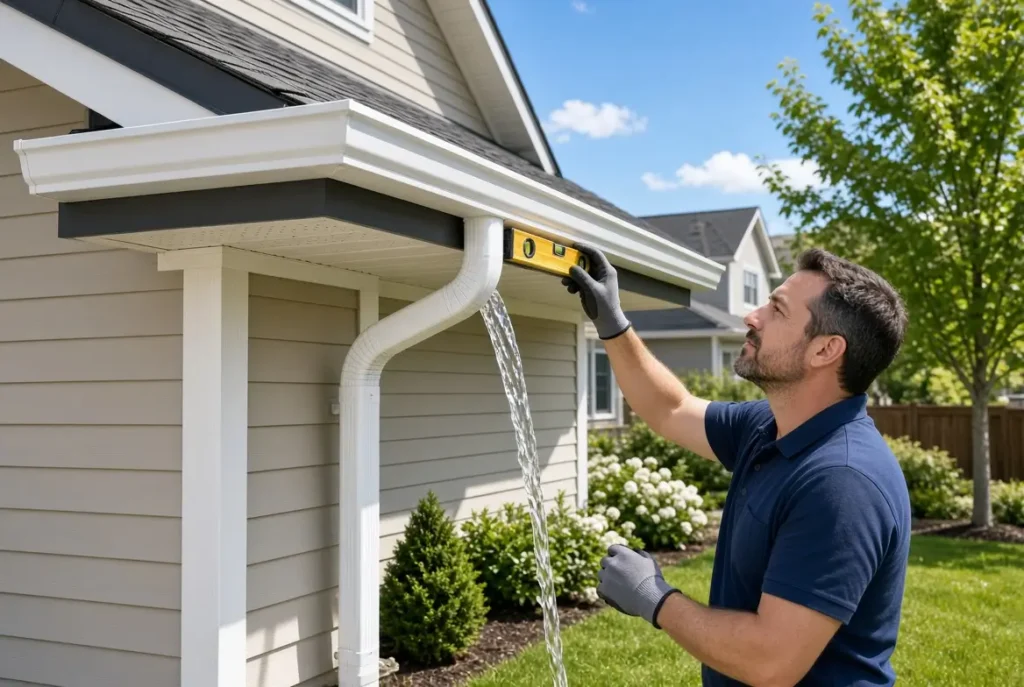
You can also run a level along the gutter to identify obvious problems.
A small amount of slope toward the downspout is intentional. The exact amount depends on the gutter system and installation, so the goal is not to make the gutter perfectly level.
What causes gutters to sag?
Common causes include:
- Loose gutter hangers
- Missing fasteners
- Heavy debris
- Standing water
- Ice buildup
- Damaged fascia
- Gutters installed with inadequate support
- Old or deteriorated hardware
If the gutter itself is still straight, replacing or tightening the supporting hardware may solve the problem.
If the gutter is badly bent, replacement may be necessary.
Step 3: Tighten Loose Gutter Hardware
Loose gutters are one of the more straightforward DIY repairs.
Inspect the screws, hangers, brackets, and other fasteners holding the gutter against the fascia.
If a screw is loose, remove it and inspect the hole.
Do not simply keep tightening a screw that spins without grabbing anything. The underlying wood may be damaged or the original hole may no longer provide enough holding power.
Use the appropriate gutter fastener or hanger designed for your gutter system.
Avoid overtightening. You want the gutter securely supported without crushing or deforming the gutter material.
What If the Screw Won’t Stay Tight?
A spinning gutter screw can indicate damaged wood or an enlarged mounting hole.
Before installing another fastener in exactly the same location, inspect the fascia.
If the wood is soft, cracked, or rotted, replacing the screw alone will not solve the underlying problem.
This is one of the situations where a seemingly small gutter repair can turn into a fascia repair.
Step 4: Repair Small Gutter Leaks
Small holes and cracks in aluminum or other metal gutters can sometimes be repaired using gutter sealant or a gutter repair product designed for the material.
First:
- Clean the area thoroughly.
- Remove dirt, leaves, and old loose sealant.
- Allow the area to dry.
- Apply an appropriate gutter sealant.
- Smooth the sealant according to the product instructions.
- Allow it to cure.
- Test the repair with water.
Do not apply new sealant over a dirty, wet, or deteriorating surface and expect it to last.
The surface preparation is often just as important as the sealant itself.
Step 5: Check Gutter Seams
Seams are common locations for leaks, especially on sectional gutter systems.
Look closely at every joint where two gutter sections meet.
Signs of a leaking seam include:
- Water dripping from the joint
- Water stains underneath the seam
- Wet fascia below the joint
- Old cracked sealant
- Separation between gutter sections
If the gutter sections are otherwise in good condition, the seam may be resealed.
Remove loose or failing old sealant before applying new gutter sealant.
If the gutter sections have shifted significantly or the joint is damaged, simply adding more sealant may only be a temporary solution.
Step 6: Inspect the End Caps
The ends of a gutter should be sealed with properly fitted end caps.
A damaged or loose end cap can allow a surprising amount of water to escape.
Check each end of the gutter system for:
- Missing end caps
- Loose end caps
- Cracked sealant
- Gaps
- Water stains
- Visible separation
If an end cap is damaged, replacement may be easier and more reliable than trying to continuously reseal it.
Step 7: Check the Downspouts
A gutter system cannot work properly if the downspouts cannot move water away from the roof.
Inspect each downspout from top to bottom.
Look for:
- Clogs
- Loose connections
- Missing screws
- Cracks
- Separation
- Dents
- Water leaking from joints
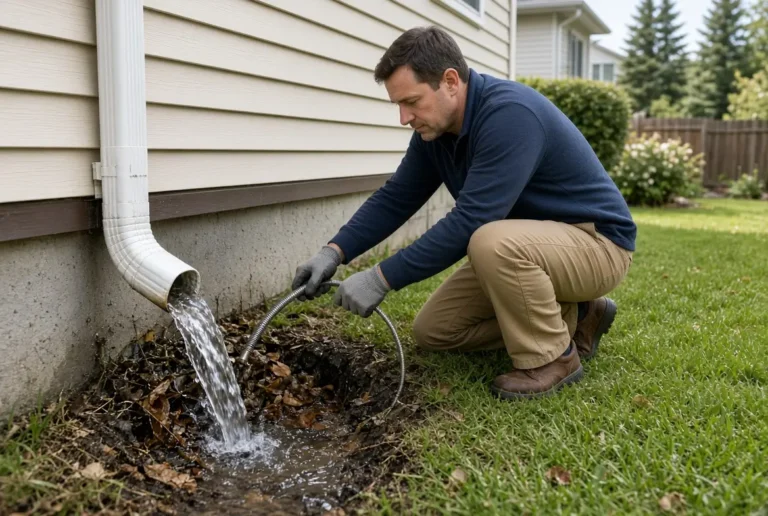
- Downspouts draining directly against the foundation
Have someone run water through the gutter while you watch the downspout.
If water comes out slowly or backs up into the gutter, there may be a blockage.
How Far Should a Downspout Drain From the House?
The goal is to move roof runoff away from the foundation rather than allowing it to collect directly next to the house.
Downspout extensions can help redirect water farther away from the foundation.
The appropriate distance depends on the property, grading, drainage conditions, local requirements, and where the water can safely discharge.
Step 8: Look Behind the Gutters
One of the most important parts of a gutter inspection is looking at the area behind the gutter.
A gutter can appear fine from the ground while the fascia behind it is deteriorating.
Look for:
- Soft wood
- Rot
- Cracks
- Peeling paint
- Dark water stains
- Mold-like growth
- Gaps between the gutter and fascia
- Evidence that water is getting behind the gutter
If the supporting fascia is rotten, simply installing larger gutter screws may not provide a lasting repair.
The gutter needs a solid structure to attach to.
Step 9: Test the Repair
After completing your repairs, test the gutter system.
Use a garden hose to slowly introduce water into the gutter near the repaired area.
Watch for:
- New leaks
- Water escaping at seams
- Standing water
- Loose sections
- Water overflowing
- Downspout blockages
Testing with a hose is useful, but heavy rainfall can expose problems that a small amount of water does not.
Check the gutters again after the next significant rain.
DIY Gutter Repair Tool List
You generally do not need a huge collection of equipment for basic gutter maintenance.
Basic tools
- Work gloves
- Extension ladder appropriate for the job
- Garden hose
- Bucket
- Screwdriver or drill
- Appropriate gutter screws
- Gutter hangers or brackets
- Utility knife
- Scraper
- Caulking gun
- Gutter sealant
- Level
- Measuring tape
- Replacement end caps if necessary
- Downspout screws or connectors
- Downspout extension
The exact hardware and sealant should match the gutter material and repair.
Printable Gutter Repair Cheat Sheet
Save or print this checklist before working on your gutters.
INSPECT
- Clean all gutter channels
- Check for holes
- Check for cracks
- Inspect seams
- Inspect end caps
- Look for sagging
- Check gutter slope
- Check screws and hangers
- Inspect fascia behind gutters
- Inspect downspouts
- Check downspout extensions
REPAIR
- Tighten loose hardware
- Replace missing fasteners
- Reseal leaking seams
- Patch appropriate small holes
- Repair or replace damaged end caps
- Reconnect loose downspouts
- Clear downspout blockages
- Add or reposition downspout extensions
- Correct minor gutter support problems
TEST
- Run water through repaired sections
- Check every seam
- Check end caps
- Check downspout flow
- Look for water behind the gutter
- Check the foundation area for drainage problems
- Reinspect after the next heavy rain
When Should You Stop DIY Gutter Repair?
Not every gutter problem should be handled from a ladder.
Consider professional help if:
- The gutter has pulled significantly away from the house.
- The fascia is badly rotted.
- Large sections of gutter are bent or damaged.
- The roof is unusually steep.
- The repair requires working at a dangerous height.
- Water is getting behind the gutter.
- The gutter repeatedly pulls loose after being repaired.
- You cannot determine why the system is overflowing.
- The drainage problem continues after cleaning and basic repairs.
- You suspect foundation or structural damage caused by persistent water problems.
Safety matters more than saving a few dollars on a repair.
If you are uncomfortable working from a ladder or cannot safely reach the damaged section, hiring someone is usually the better option.
How Much Does DIY Gutter Repair Cost?
Minor gutter repairs can be relatively inexpensive when the existing gutter system is still in good condition.
A homeowner may only need:
- A tube of gutter sealant
- A small package of screws
- Replacement hangers
- A downspout connector
- A replacement end cap
Costs increase when sections of gutter, fascia, downspouts, or drainage components need to be replaced.
The biggest mistake is focusing only on the visible gutter damage.
For example, replacing a loose gutter screw will not solve the problem if the screw is loose because the fascia behind it has rotted.
Frequently Asked Questions About DIY Gutter Repair
Can I repair a leaking gutter myself?
Yes, minor leaks around seams, small holes, and end caps can often be repaired with the appropriate gutter sealant and replacement components. The surface should be clean and dry before applying sealant.
Why is my gutter leaking at the seam?
Gutter seams can leak when the original sealant deteriorates, the sections shift, or the joint becomes damaged. Cleaning the area and resealing the joint can solve some minor leaks.
How do I fix a gutter that is pulling away from my house?
First determine whether the gutter hardware is loose or whether the fascia behind the gutter is damaged. If the fascia is rotten, simply adding another screw may not provide enough support.
Why is my gutter sagging even though it isn’t clogged?
Loose or inadequate hangers, damaged fasteners, standing water, excessive weight, or deteriorated fascia can cause a gutter to sag even when the gutter is clean.
Can I use regular caulk to repair a gutter?
It is better to use a sealant specifically intended for gutter or exterior applications and compatible with the gutter material. Regular household caulk may not provide the durability or adhesion needed for exterior gutter repairs.
Why does my gutter overflow when it rains?
Possible causes include clogged gutters or downspouts, improper gutter slope, inadequate drainage capacity, a damaged gutter section, or water entering the gutter faster than the system can handle it.
Should I repair or replace my gutters?
Repairing makes sense when the gutter system is generally sound and the problem is isolated. Replacement may make more sense when multiple sections are badly damaged, the gutters repeatedly fail, or the supporting structure has significant deterioration.
When should I call a professional for gutter repair?
Call a professional when the repair involves unsafe ladder or roof access, extensive gutter damage, rotten fascia, significant water intrusion, or a drainage problem that remains after basic cleaning and repairs.
Final DIY Gutter Repair Checklist
Before calling the job finished, ask yourself:
Are the gutters clean?
Are they securely attached?
Are they draining toward the downspouts?
Are the seams watertight?
Are the end caps sealed?
Are the downspouts clear?
Is water being directed away from the foundation?
Is the fascia behind the gutter solid?
Did you test the system with water?
If you can answer yes to those questions, you have addressed many of the most common gutter problems a homeowner encounters.
But if the gutter continues leaking, sagging, overflowing, or pulling away from the house after a DIY repair, the visible problem may not be the actual cause. Getting the underlying issue identified before it causes additional water damage can save considerably more money than repeatedly patching the same problem.