How to Program a LiftMaster Keypad to a Genie Garage Door Opener
Trying to get a LiftMaster keypad to talk to a Genie opener is one of those “sounds simpler than it are” jobs. Both brands are solid, but they generally use different rolling-code systems and receiver protocols — which means a direct pairing often won’t work. That said there are practical, handyman-friendly ways to solve the problem: either by making the Genie accepts a compatible transmitter (recommended), swapping the keypad for a Genie-compatible unit, or using a universal keypad/receiver. Below I’ll walk you through the options, give step-by-step instructions for the most reliable methods, and cover troubleshooting and safety tips.
The reality check for garage doors
Quick reality check: if your LiftMaster keypad is an older DIP-switch model and the Genie opener also supports DIP switches, you might get lucky and match the switches. But in modern systems (rolling codes like Security+, Intellicode, etc.), direct pairing is rarely possible and not reliable. Plan on either replacing the garage keypad with a Genie-compatible or universal unit, or installing a small compatible receiver.
Why LiftMaster and Genie Don’t Always Pair
LiftMaster and Chamberlain (same family) often use Security+ or Security+ 2.0 rolling-code systems. Genie tends to use Intellicode (or similar proprietary rolling-code technology). Rolling codes are a security feature — they change the radio code after each use so someone can’t record and replay it. The catch: the opener and the keypad must speak the same “language.” If they don’t, the opener ignores the keypad. That’s not a defect — it’s a design.
Options & Recommended Routes
There are three practical paths to make your keypad function with a Genie opener:
- Replace the keypad with a Genie-compatible or universal keypad. This is the cleanest fix.
- Install a universal receiver module that’s compatible with Genie and can accept the LiftMaster transmitter (less common).
- If both units use DIP-switch codes (older gear), match those switches — rare on modern systems.
Option 1 is the most reliable and fastest for most homeowners. Below I’ll give step-by-step instructions for installing/programming a Genie-compatible keypad and for programming a universal keypad to work with the Genie opener. I’ll also cover the DIP-switch approach briefly, for legacy systems.
What You’ll Need
- Ladder (stable, rated for the job)
- Screwdrivers (Philips/flat)
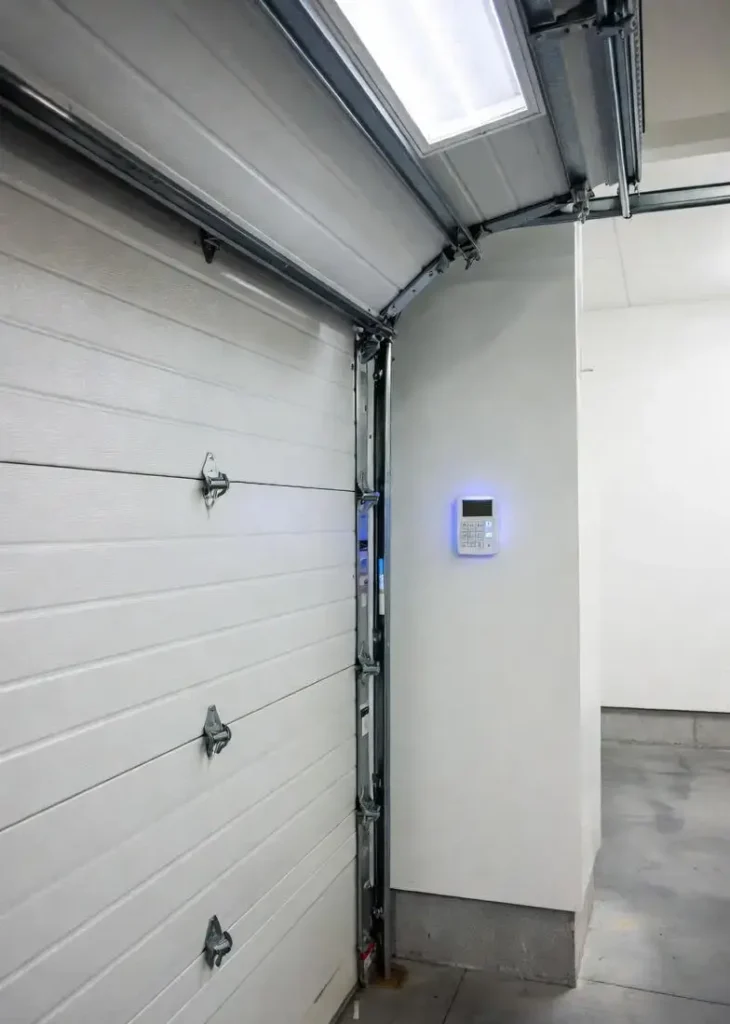
- New Genie-compatible or universal wireless keypad (buy first)
- Fresh batteries for keypad (9V or AAA/AA depending on model)
- Owner’s manual or model number for your Genie opener (handy for locating the learn button)
- Flashlight (if the opener is in a dark garage)
- Optional: voltage tester and basic electrical safety gear
Estimated time: 20–45 minutes if there’s existing wiring and no complications. If new wiring, permits, or a receiver install are required, add time and cost.
Step A — If You Choose to Replace the Keypad (Best Practice)
- Buy a keypad that explicitly lists compatibility with your Genie opener model or a universal keypad that states Genie/Intellicode compatibility. Read the product notes — not all “universal” units actually work with every brand.
- Install batteries in the new keypad and ensure it powers up.
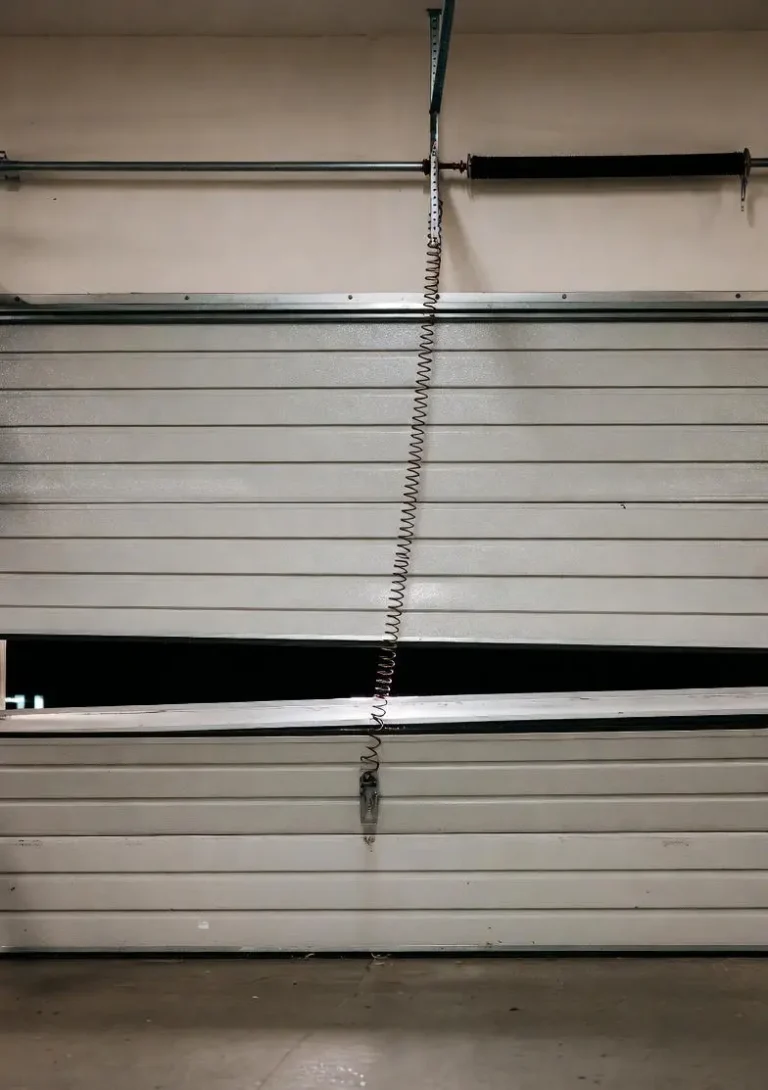
- Locate the Learn/Program button on your Genie opener. It’s on the motor head (ceiling unit). Depending on the model it might be under the light cover or behind a small panel. The button may be marked “Learn,” “Program,” or sometimes “Learn/Set.” Make a note of its color and position.
- Press the Genie Learn button once (don’t hold it). The LED near it will usually blink or stay lit for 30 seconds to indicate it’s in programming mode.
- Within that 30-second window, follow the keypad instructions: enter a PIN (4–8 digits depending on the keypad) and press ENTER (or the symbol your keypad uses). The Genie opener should acknowledge (light blink, motor jog, or audible click).
- Test the keypad from several positions in the driveway to confirm it operates the door consistently.
- If it doesn’t work, replace the keypad battery and repeat. If still unsuccessful, confirm the keypad model compatibility and try again.
Step B — Programming a Universal Keypad to a Genie Opener
If you’ve chosen a universal keypad that supports Genie/Intellicode, the general programming flow is similar but check the vendor instructions:
- Power the keypad with the correct batteries.
- On the Genie opener, press the Learn button once to enter program mode.
- On the keypad, follow the vendor’s programming sequence — typically enter a PIN and press a program key within 30 seconds of pressing Learn.
- Confirm the opener acknowledges by a light or motor action, then test from multiple spots.
- If the universal keypad has DIP or mode switches to set the protocol, ensure they’re in the Genie position.
Step C — Old-School DIP-Switch Method (Legacy Systems)
If you’re working with older gear that predates modern rolling codes, both the keypad and the receiver may have DIP switches. If so:
- Remove the keypad cover and locate the tiny DIP switches.
- Open the motor housing (power off first if required) and locate the matching DIP switches on the receiver board.
- Match the switch positions exactly between keypad and receiver.
- Reassemble and test.
Note: This is rare for contemporary systems. If in doubt, treat it as incompatible and go Option 1.
Troubleshooting Common Issues
- No response from keypad: Check battery, ensure you pressed the Genie Learn button within the programming window, and make sure you entered the PIN correctly. If using universal keypad, ensure protocol switches are correctly set.
- Opener beeps but won’t accept code: You might need to clear existing codes if memory is full or if the opener was set to ignore new pairings. Consult the Genie manual on clearing memory (usually a longer press of Learn clears stored remotes).
- Intermittent operation: Check the keypad battery, examine antenna wire on the Genie opener (make sure it’s hanging down), and verify range/line-of-sight. Wireless interference or low battery are common causes.
- Multiple users/codes: Keep a secure list of active codes. If contractors or tenants no longer need access, delete their codes promptly (via keypad programming or opener memory erase).
Safety & Practical Tips
- Always work from a stable ladder and have a helper hold the base if needed.
- Replace keypad batteries annually or when operation becomes inconsistent.
- If you reset memory on the opener, you’ll need to reprogram remotes for cars and any other keypads in use. Plan for that extra time.
- If your opener has a battery backup, double-check programming behaviors during power loss tests.
When to Call a Handyman or Pro
- You don’t want to climb ladders or open the motor housing.
- You suspect the opener’s receiver is damaged.
- Your system is integrated into a smart home and requires professional setup.
- You need a universal receiver installed because the keypad you want to keep is non-compatible.
A pro can install a small compatible receiver or replace the keypad quickly, ensure all remotes are reprogrammed, and seal any wiring penetrations to protect electronics from moisture.
Final Notes & Best Practice
For most homeowners and handymen, the fastest, safest, and most reliable solution is replacing the keypad with a Genie-compatible or reputable universal keypad. It avoids protocol mismatches and gives you a clean programming sequence. Keep a record of PINs, rotate codes after contractors leave, and check batteries seasonally.
If you need assistance sourcing a compatible keypad or prefer a pro to do the install and programming, calling a local handyman with opener experience is worth the peace of mind. Garage doors are heavy and potentially dangerous if something’s miswired — don’t risk it for a small savings.
Need Help Programming Your Garage Keypad?
If you’d rather have a pro handle the setup or your keypad won’t pair, we’ll come out and get it done fast and right.
Call Now: 313-331-6800