Fixing Leaky Faucets: Step-by-Step Guide to Identify and Repair Leaks
A leaky faucet is more than an annoyance — it wastes water, drives your utility bills up, and slowly damages your sink, countertop, and plumbing hardware. The good news? Most leaks are caused by a handful of predictable issues, and with the right approach, you can diagnose and repair them quickly.
Below is a straightforward, expert-level guide to pinpointing the leak, choosing the correct repair method, and getting your faucet working like new again.
Homeowner faucet signs
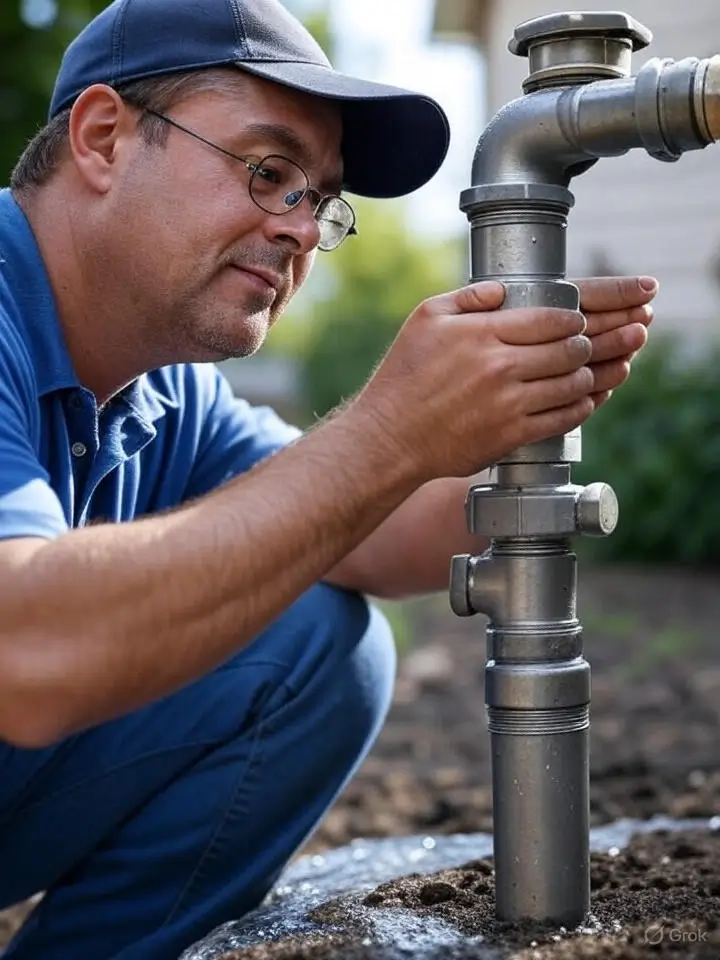
Many homeowners don’t realize that a faucet leak is often a warning sign of deeper plumbing issues. If your faucet hardware is wearing out faster than expected, the real culprit can be water pressure that’s too high for the fixture. Excessive pressure forces cartridges, seats, and O-rings to fail early. It’s worth checking your home’s pressure if you’ve repaired the same faucet more than once. A simple pressure gauge can confirm whether your PSI is in the safe range — generally between 40 and 60 PSI for most Michigan homes.
Another overlooked cause of persistent leaks is debris inside the valve body. Sediment from older galvanized pipes or mineral flakes from hard water can get trapped inside, scratching the cartridge or preventing seals from sitting correctly. When that happens, you can replace parts all day long and the faucet will still drip. Fully flushing the lines and cleaning the internal valve surfaces often fixes the issue.
Finally, it’s smart to inspect your supply lines during any faucet repair. Many Michigan homes still use braided stainless lines that look fine on the outside but are deteriorating internally. If you see rust, bulging, or corrosion on the fittings, replace them while you’re under the sink — it’s a cheap, simple upgrade that can prevent a catastrophic water failure later.

Why Faucets Start Leaking
Most faucet leaks come down to one of these problems:
- Worn cartridges or valve assemblies
- Damaged O-rings
- Loose packing nuts
- Worn rubber washers (common in older compression faucets)
- Mineral buildup from hard water
- Loose or cracked supply lines
- A damaged sprayer hose or diverter valve
Fixing the leak starts with identifying which of these is responsible. Plumbers always get calls for leaky faucets. Most leaky faucet repairs are small plumbing jobs.
Step 1: Identify Where the Leak Is Coming From
Before taking anything apart, you need to figure out the exact source.
Check these locations:
1. Dripping from the spout
– Typically caused by a worn cartridge, valve seat, or internal rubber washer.
2. Water around the base of the faucet
– Usually failing O-rings or a loose retaining nut underneath.
3. Leaks under the sink
– Often loose supply line connections or worn gaskets.
4. Leaks from the sprayer hose (kitchen faucets)
– Look for cracks in the hose or leaks at the coupling.
Quick diagnostic tricks:
- Place a dry paper towel around the base to reveal slow leaks.
- Check under the sink with a flashlight for moisture or mineral buildup.
- Watch for water trails down the spout or behind the handle.
Once you’ve identified the leak location, you’re ready to move on.
Step 2: Shut Off the Water
Never start disassembly until water pressure is off.
- Turn off the hot and cold shutoff valves under the sink.
- Turn the faucet handle on to release the remaining pressure.
- Put a towel or small bucket under the faucet assembly.
If your shutoff valves won’t close (old Michigan homes get stuck valves often), shut off the home’s main water supply.
Step 3: Disassemble the Faucet
The process varies based on faucet style, but the general method stays the same.
Single-Handle Faucets:
- Remove the decorative cap on top of the handle.
- Unscrew the handle screw and lift off the handle.
- Remove the retaining nut or clip.
- Pull out the cartridge.
Two-Handle Faucets:
- Remove the caps on each handle.
- Unscrew and lift the handles.
- Access the stem, cartridge, or compression valve beneath.
Kitchen Pull-Spray Faucets:
- You’ll also inspect the sprayer hose and diverter valve once the main assembly is open.
Keep parts in order. Don’t just toss everything in a pile.
Step 4: Inspect Internal Components
This is where you find the real cause of the leak.
Look for:
- Cracked or flattened O-rings
- Mineral deposits on cartridges
- Torn or hardened washers
- Loose packing nuts
- Corroded valve seats
- A worn sprayer hose
If any part is worn or damaged, replace it — patch fixes never hold for long.
Step 5: Replace the Worn Components
For Cartridge Faucets:
- Replace the cartridge completely (Moen, Delta, Kohler, etc., all have replacements).
- Use plumber’s grease on the new O-rings.
- Make sure the tabs line up in the correct position.
For Compression Faucets (older homes):
- Replace washers, packing, and damaged stems.
- Smooth any scoring with plumber’s cloth.
For Ceramic Disc Faucets:
- Replace the rubber seals and clean the disc assembly.
- If the disc itself is cracked, replace the whole cartridge.
For Base Leaks:
- Replace O-rings around the faucet body.
- Tighten the retaining nut — but not too tight.
For Sprayer-Hose Leaks:
- Replace the hose entirely.
- Inspect the diverter and clean out mineral buildup.
Step 6: Reassemble the Faucet
Reverse the steps you used to take it apart:
- Insert new cartridge or stem.
- Reinstall retaining clip or nut.
- Reattach handles and screws.
- Snap the decorative caps back on.
Make sure everything feels secure and seats correctly.
Step 7: Turn Water Back On and Test
Slowly turn on the shutoff valves.
Check for:
- Any drip from the spout
- Water pooling at the base
- Leaks under the sink
- Sprayer hose drips
Let the faucet run for a minute to confirm there’s no delayed leak.
If the leak continues, you likely:
- Installed the wrong cartridge,
- Installed it in the wrong orientation, or
- Have a corroded faucet body that needs replacement.
When You Should Bring in a Professional
Call a pro if:
- You can’t identify the leak source
- The shutoff valves are frozen
- The faucet body is cracked
- The leak persists after replacing parts
- You see corrosion or mineral buildup inside the faucet body
- The supply lines under the sink are rusted or damaged
A professional can also spot issues homeowners miss — especially in older Michigan plumbing systems.
How to Prevent Future Leaks
- Clean aerators every 3–6 months
- Avoid cranking handles too tightly
- Replace O-rings every few years
- Install a sediment filter in homes with heavy mineral content
- Don’t force the handle if it sticks — fix the root problem
Yes a little maintenance goes a long way.
Need a Leaky Faucet Fixed?
Fast, affordable faucet repairs for kitchens, bathrooms, utility sinks, and more. Cartridge replacements, O-rings, sprayers — we handle it all.
Call Now: 313-351-8635
Schedule Your Repair