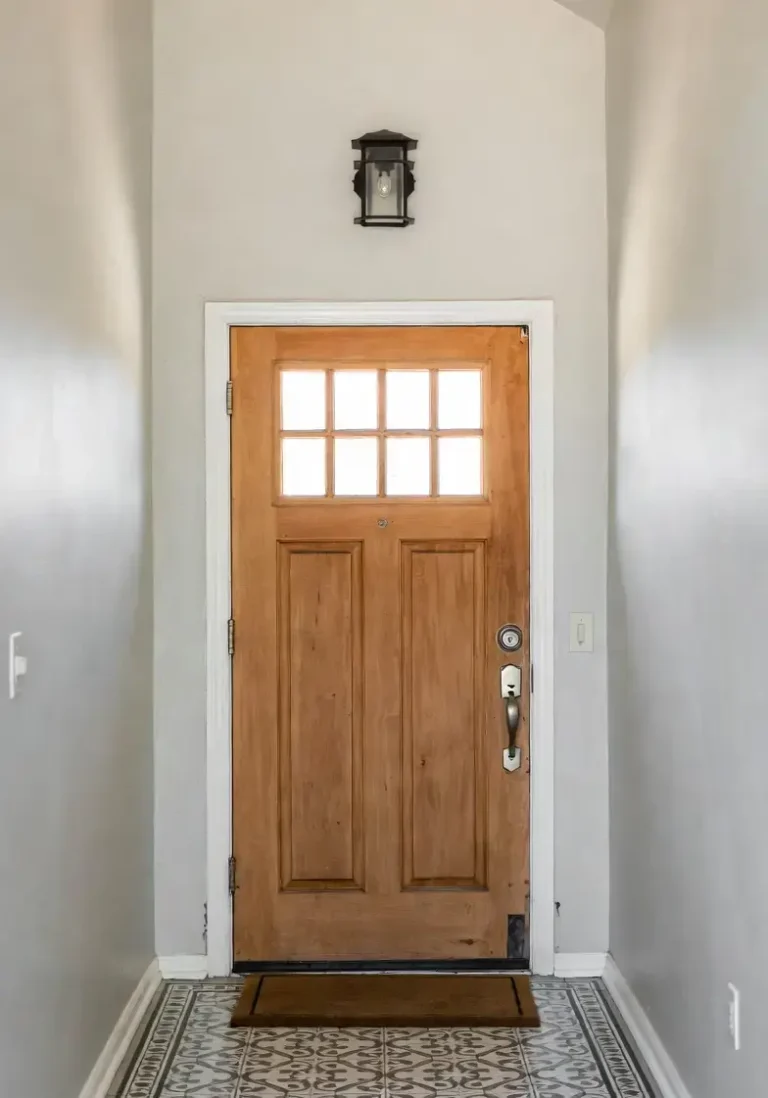
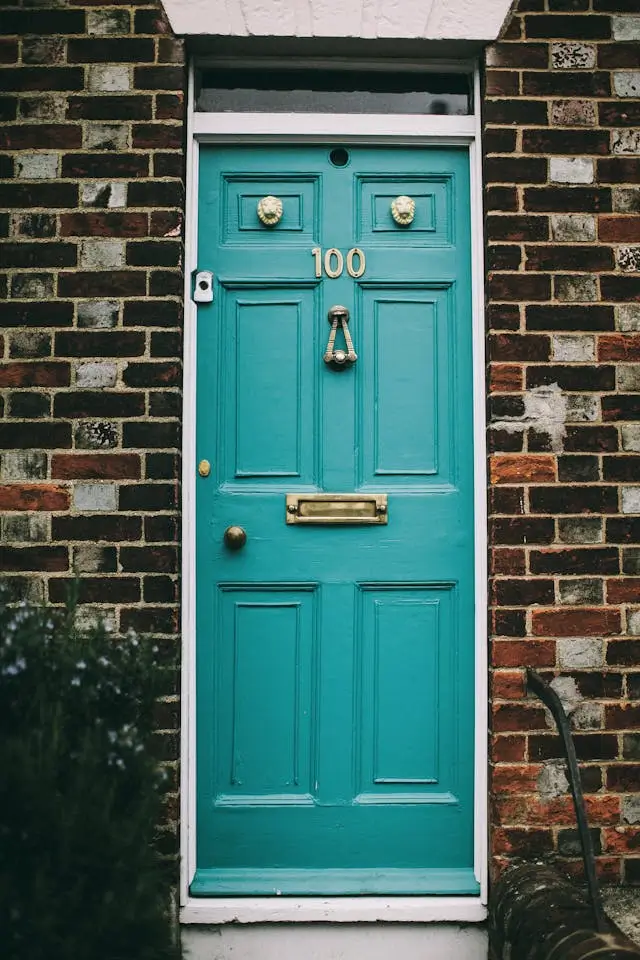
DIY Fix: Weatherproofing Doors for Michigan Homeowners
Weatherproofing Issues? Let’s Fix That Draft Today.
Don’t want to mess with the tools? No problem. Call us now at 313-513-1185 and get same-day service from a trusted Michigan handyman. We seal, repair, and replace doors across Southeast Michigan.
Living in Michigan means dealing with four full-blown seasons, from frigid winters to humid summers. But when it comes to comfort (and energy bills), one of the biggest troublemakers in any home is a drafty, poorly sealed door. Whether it’s letting in cold air during a snowstorm or leaking cool AC in the summer, a drafty door can cost you money year-round. Or even drafty windows can cost you money over time.
In this guide, we’re breaking down how Michigan homeowners can weatherproof doors themselves—with simple tools, easy fixes, and real-world handyman advice.
Why Weatherproofing Matters in Michigan
Michigan weather is unpredictable. One day it’s 50 and sunny, the next it’s snowing sideways. If your exterior doors aren’t sealed properly, you’re not just sacrificing comfort—you’re flushing money down the drain with every utility bill.
A drafty door can:
- Let in cold air, making your furnace work harder.
- Allow bugs and moisture inside.
- Cause your HVAC system to cycle more often.
- Lead to higher heating and cooling costs.
We have the good news? You don’t need to replace the door. A simple DIY weatherproofing fix can make a huge difference.
Step 1: Identify the Draft
Before you grab any tools, you need to figure out where the draft is coming from.
Try these tricks:
- Light Test: At night, have someone shine a flashlight around the edges of the door from the outside. If you see light coming through, air is getting in.
- Hand Test: On a cold day, slowly move your hand around the edges of the door. If you feel a breeze, that’s your draft.
- Smoke Test: Light a stick of incense or a candle and slowly trace it around the doorframe. If the smoke wavers or gets pulled, you’ve got a leak.
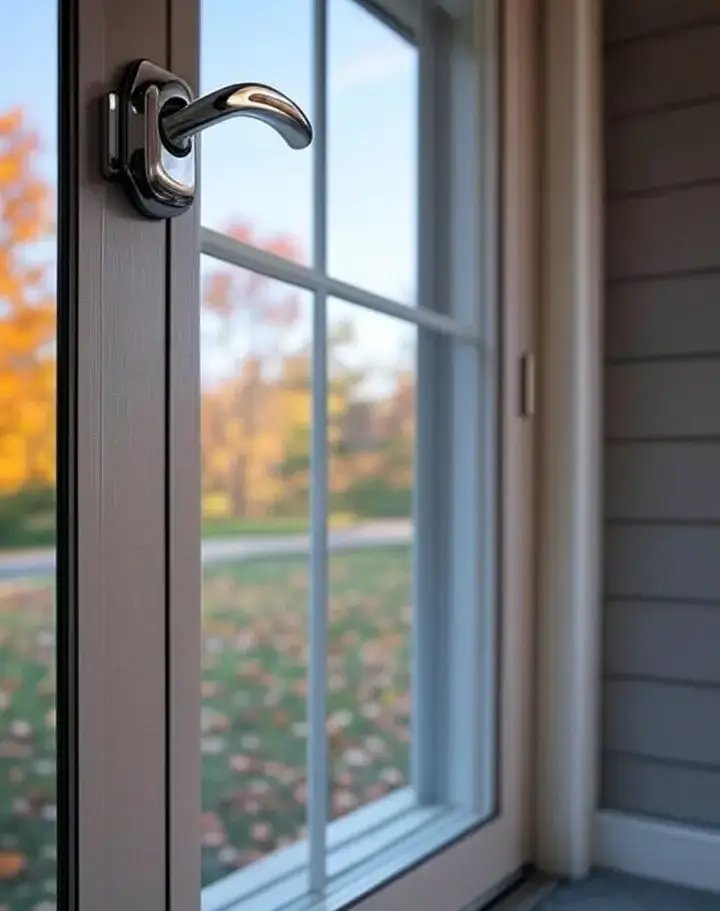
Step 2: Check the Weather-stripping
Weather-stripping is your first line of defense. It runs along the sides and top of the door frame and compresses when the door is shut.
Here’s what to look for:
- Cracked or brittle rubber
- Gaps or missing strips
- Flattened areas that no longer seal
Fix:
Replace with new adhesive-backed foam weather-stripping or install V-strip (tension seal). It’s cheap, easy to apply, and available at any hardware store.
How to Install Foam Weather-stripping:
- Clean the surface with rubbing alcohol.
- Measure and cut strips to length.
- Peel the backing and press the adhesive firmly into place.
Step 3: Replace or Add a Door Sweep
The biggest source of drafts is usually the gap under the door. That’s where a door sweep comes in handy.
There are two main types:
- U-shaped sweeps that slide onto the bottom of the door.
- Metal or plastic sweeps that screw into the bottom.
Tip: If your floors are uneven, go for an adjustable sweep that you can tighten or loosen as needed.
Installation Steps:
- Measure the width of your door.
- Cut the sweep to size with a hacksaw (if necessary).
- Screw it into the bottom edge of the door using pre-drilled holes.
Step 4: Add a Door Threshold or Replace the Existing One
If you’re existing threshold is worn down or missing altogether, you’re fighting a losing battle. Replacing it with a new, raised, adjustable threshold can eliminate drafts and improve the seal.
What you’ll need:
- Threshold kit (available at home improvement stores)
- Screws and drill
- Caulk or sealant
Steps:
- Remove the old threshold.
- Clean the surface and check for rot.
- Measure and cut the new threshold to fit.
- Screw it down and seal the edges with weatherproof caulk.
Step 5: Seal Gaps around the Doorframe
Sometimes the problem isn’t the door—it’s the frame. If you see gaps around the door casing (inside or out), seal them with latex caulk or expanding foam.
- Use latex caulk for small gaps (less than ¼”).
- Use low-expanding spray foam for larger openings.
Important: Don’t use high-expanding foam—it can warp the frame and prevent the door from closing properly.
Bonus Tips for Michigan Homeowners
Here are a few extra pointers just for folks dealing with Michigan’s extreme weather:
- Storm doors: If your front or back entry door doesn’t have one, consider adding a storm door. It adds an extra layer of insulation.
- Insulated curtains: For drafty patio doors or sliders, thermal curtains can do wonders in winter.
- Routine checks: Check your door seals every spring and fall. Michigan weather can wear them out fast.
When to Call a Pro
If you’ve done all the above and the draft is still there, it could be a sign of:
- A warped or bowed door
- Settling in the home’s foundation
- Frame damage due to moisture or pests
At that point, you may need to repair or replace the door—and it’s usually worth having a professional take a look.
When DIY Weatherproofing Works — and When It Doesn’t
Weatherproofing doors is one of those projects that sound simple—and sometimes it is. Other times, it’s just a temporary fix hiding a bigger issue. Michigan homeowners deal with extreme temperature swings every year: freezing winters, humid summers, and constant expansion and contraction. That wear and tear matters when deciding how far DIY weatherproofing will actually go.
If the door itself is still in good shape, DIY fixes can absolutely help. Replacing worn weather-stripping, adding a new door sweep, sealing small gaps with caulk, and tightening loose hinges can noticeably cut down on drafts. You’ll usually feel the difference right away, especially during windy winter days. This type of maintenance is worth doing and should be part of regular home upkeep.
Why DIY begins to fail
Where DIY begins to fail for most homeowners isn’t the weather-stripping but could be the door itself. That’s why we encourage you to check all your doors to make sure they function correctly.
Older Michigan homes are especially prone to this. Years of settling, shifting frames, and freeze-thaw cycles can throw doors out of square. When that happens, weather-stripping alone won’t create a tight seal. You might block some air, but drafts, cold spots, and heat loss will still be there.
Another common issue is overcorrecting. Homeowners add thicker weather-stripping, then another sweep, and then draft blockers, and suddenly the door becomes hard to close or won’t latch properly. At that point, the fix creates new problems. A door should close smoothly and seal without force—if it doesn’t, something’s off.
Moisture is another warning sign. If you notice water stains near the bottom of the door, peeling paint, or swelling wood, weatherproofing alone won’t solve it. That usually points to threshold issues, poor drainage, or flashing problems. Ignoring moisture leads to rot, which is far more expensive than fixing a draft early.
Insulation also gets overlooked. Many older doors simply don’t insulate well by today’s standards. You can seal every edge and still feel cold coming through the door itself. That’s not a sealing problem—it’s an insulation problem. In those cases, weatherproofing helps, but it won’t eliminate heat loss.
Here’s the straightforward truth:
DIY weatherproofing is maintenance, not a cure-all.
It works best for:
- Drafts around an otherwise solid door
- Worn or cracked weather-stripping
- Minor alignment issues from loose hardware
- Seasonal winter prep
It’s not enough for:
- Warped or out-of-square doors
- Rotting frames or damaged thresholds
- Ongoing moisture or condensation issues
- Doors that stick, scrape, or won’t latch consistently
There’s also the time factor. If you’re redoing weather-stripping every year and still dealing with cold air and high heating bills, the “cheap” fix isn’t actually cheap. It’s just postponing the real solution.
A properly sealed door should close easily, latch cleanly, and block drafts without extra add-ons. If your door can’t do that after basic weatherproofing, it’s a sign the issue runs deeper.
DIY fixes are a smart first step—but knowing when they stop being effective is what saves money long-term. Use weatherproofing to extend the life of a good door, not to force a bad one to limp through another Michigan winter.
The Last Thing About Drafty Doors
Drafty doors aren’t just a minor annoyance. They affect your comfort, your energy bills, and even your health during extreme cold. But the good news is that weatherproofing a door is one of the easiest DIY projects you can tackle as a Michigan homeowner.
With a few tools, a bit of patience, and about an hour of your time, you can dramatically improve your home’s comfort and energy efficiency.
Too Busy to DIY?
We get it. Between work, kids, and Michigan’s unpredictable weather, sometimes you just need someone to get it done. Call 313-513-1185 to schedule fast, affordable door weatherproofing in your area.